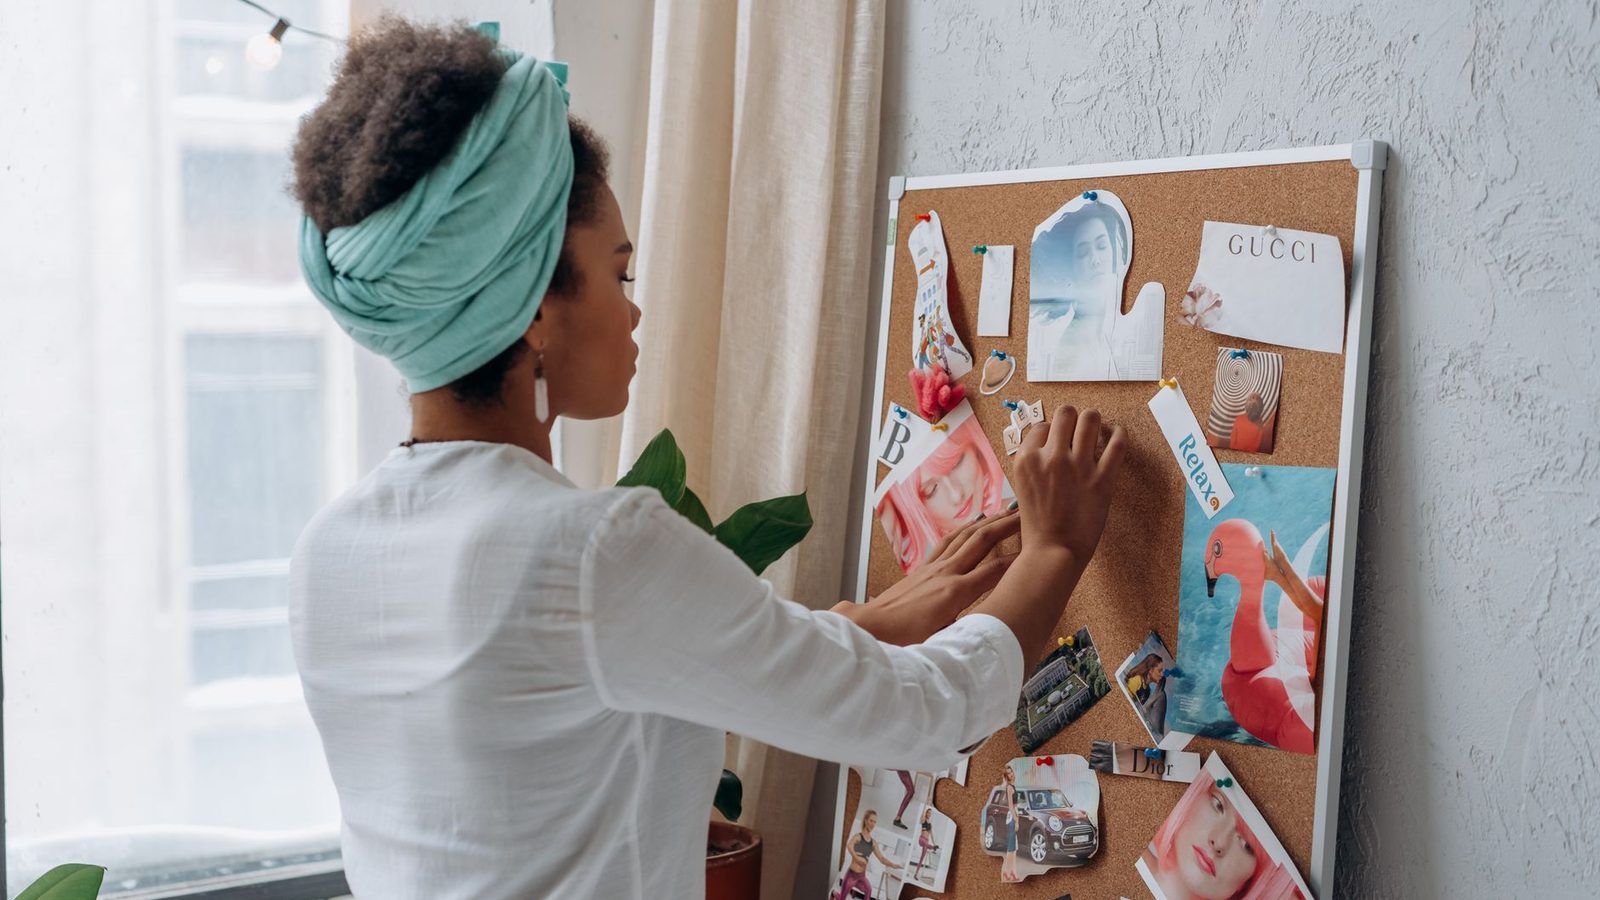
Open a blank canvas, pick one to three goals for the next 90 days, find one image for each, and write a short "if, then" plan under every image. Save the finished board as your phone's lock screen and set a monthly reminder to review it. That's a digital vision board in about twenty minutes. The plan line under each picture is the step most boards skip, and it's the step with the most research behind it.
Below is the full walkthrough, what to put on the board, and why images alone tend to fall short.
Why pictures alone aren't enough
A vision board feels like it should work because looking at the goal feels good. That good feeling is part of the problem. Psychologist Gabriele Oettingen has spent decades studying the difference between positive fantasies (pleasant daydreams about an ideal future) and positive expectations (a judgment that the future is likely, based on what you've done before).
In one early study, women in a weight-loss program who reported more positive fantasies about their success lost less weight over the following year than those whose thoughts included setbacks and temptations (Oettingen and Wadden, 1991). Later work by Oettingen and Mayer (2002) found the same split across several goals: positive expectations predicted more effort and better results, while positive fantasies predicted less. A 2011 paper by Heather Kappes and Oettingen measured something even more direct. People who fantasized positively about an idealized future showed lower energy, as measured by systolic blood pressure, than people in comparison conditions.
The takeaway isn't "stop dreaming." It's "don't stop at dreaming." Oettingen's answer is mental contrasting: picture the outcome, then picture the obstacle that stands in the way inside you or your routine, and make a plan for it. Her team packaged this as WOOP, which stands for Wish, Outcome, Obstacle, Plan, and it's free to learn at woopmylife.org.
The "if, then" line
The plan part has its own research history. Peter Gollwitzer called these plans implementation intentions: "If situation X happens, then I will do Y." In a 1999 article in American Psychologist, he described how linking a specific cue to a specific action helps people start on goals and stay on them. In 2006, Gollwitzer and Paschal Sheeran pooled 94 independent tests of the technique and found a medium-to-large effect on goal attainment.
On a vision board, the image is the wish. The "if, then" line underneath is the plan.
Step by step: build the board
1. Pick a 90-day window and one to three goals. A board with twelve dreams is a collage. A board with three goals is a plan you can look at. Choose goals from different parts of life so one hunger doesn't swallow the whole board: one for work or money, one for health or energy, one for people or home.
2. Write each goal as a behavior you control. "Get promoted" depends on other people. "Finish the certification course by January 10" depends on you. Results are fine to want. Put the behavior on the board.
3. Choose an image that shows the action, not the trophy. A sports car shows a purchase. A photo of your running shoes by the door shows Tuesday morning. A picture of the library table where you'll study on Thursdays tells you where to be. Your own photos often work better than stock images because they point to your actual life. If you use images you found online, stick to ones with licenses that allow personal use.
4. Add a WOOP line under each image. Keep it to one or two short lines:
- Wish: Run a 5K in January.
- Obstacle: I talk myself out of it when it's dark at 6 a.m.
- Plan: If it's dark when the alarm goes off, then I'll run the indoor route at the gym instead of skipping.
A work goal follows the same pattern:
- Wish: Finish the certification course by January 10.
- Obstacle: I check email "for a minute" after dinner and the evening disappears.
- Plan: If I sit down at my desk after dinner, then I'll open the course module before I open my inbox.
The obstacle should be something inside your control or routine, such as a habit, a mood or a time of day. "My boss" is not an obstacle you can plan around. "I say yes to extra work at 4:45 p.m." is.
5. Lay it out with space. One goal per row or per panel works well on a phone screen. Leave white space. A crowded board is hard to read at a glance, and a glance is all most of us give a lock screen.
6. Put it where your eyes already go. Set the board as your phone lock screen or computer wallpaper. A board in a folder you never open doesn't work.
7. Review it monthly. Put a 15-minute reminder on your calendar. Ask three questions for each goal: Did I do the plan? Was the obstacle the right one? What changes this month? Replace any image you've outgrown.
Stuck on step 3? The free vision board builder suggests image ideas and key words for each life area you select, from career to home. Use its suggestions as a shopping list for photos, then lay out the board in whatever design or slides app you already use, add your plan lines, and export it as an image for your background.
What to put on it: ideas by life area
If you're stuck, start with one of these and make it yours.
- Work and money: the desk setup where you'll do focused work; a screenshot of your savings account with a target written over it; the logo of a course you're finishing.
- Health and energy: your water bottle; a filled-in sleep log; the trailhead you'll walk on Saturdays; the grocery list for the week.
- Relationships: a photo of the friend you'll call every Sunday; the board game you'll bring to family dinner; a calendar square marked "date night."
- Home: the closet you're clearing, photographed as it is today; a paint swatch; the reading chair you're making room for.
- Growth and fun: the instrument in its case; the first page of the book you're writing; a ticket for a class.
Each of these points to something you'll do, and each can carry a plan line.
Common mistakes
- Too many goals. Three is plenty for 90 days.
- Only outcomes, no actions. Outcomes inspire, and actions get done. Keep both, but make sure there's an action.
- Obstacles outside your control. Plan around your own patterns.
- Never updating it. A board you've stopped seeing has stopped working. Change one image each month so your eye catches it again.
- Treating it as a promise of results. A vision board organizes attention and plans. It doesn't guarantee an outcome, and that's fine.
Pair it with writing
A board shows the goal. Writing tells you how you feel about it, and that's often where the real obstacle shows up. If you want a few starting questions, our journaling prompts work well alongside a monthly review. For a deeper look at choosing what goes on a board, including paper boards, read Vision Boards: The Complete Guide to Designing Your Future.
When you finish your board, keep it for next year. Looking back at what made it, and what didn't, is one of the most useful things a vision board can give you.
Want a monthly review reminder in your inbox? The newsletter signup is on this page.
Sources
- Oettingen, G., & Wadden, T. A. (1991). Expectation, fantasy, and weight loss: Is the impact of positive thinking always positive? Cognitive Therapy and Research, 15(2), 167–175. https://doi.org/10.1007/BF01173206
- Oettingen, G., & Mayer, D. (2002). The motivating function of thinking about the future: Expectations versus fantasies. Journal of Personality and Social Psychology, 83(5), 1198–1212. https://doi.org/10.1037/0022-3514.83.5.1198
- Kappes, H. B., & Oettingen, G. (2011). Positive fantasies about idealized futures sap energy. Journal of Experimental Social Psychology, 47(4), 719–729. https://doi.org/10.1016/j.jesp.2011.02.003
- Oettingen, G. (2014). Rethinking Positive Thinking: Inside the New Science of Motivation. Current/Penguin. WOOP overview: https://woopmylife.org/
- Gollwitzer, P. M. (1999). Implementation intentions: Strong effects of simple plans. American Psychologist, 54(7), 493–503. https://doi.org/10.1037/0003-066X.54.7.493
- Gollwitzer, P. M., & Sheeran, P. (2006). Implementation intentions and goal achievement: A meta-analysis of effects and processes. Advances in Experimental Social Psychology, 38, 69–119. https://doi.org/10.1016/S0065-2601(06)38002-1
 The Secret
 Feeling Is the Secret
 The Five Minute Journal
 Vision Board Kit
 The Magic
 Atomic Habits